


How to connect a gaming laptop to an external monitor for dual screens
Instead of swapping between your game and chat, connect your gaming laptop to an external monitor with HDMI or video-capable USB-C, then choose Extend in Windows to create two separate workspaces. This 2026 guide covers the connection, display settings, gaming checks, and fixes that get both screens working together.
- To connect gaming laptop to external monitor dual screen, choose Extend in Windows 11.
- HDMI carries video directly; USB-C needs display-output support on the laptop and a compatible cable.
- Set resolution and refresh rate separately for each screen; connecting a monitor does not automatically select its highest refresh rate.
- Gaming and More shoppers should check laptop outputs and monitor inputs before choosing gaming gear.
Why this matters
Extend gives you two workspaces; Duplicate shows the same workspace twice. That distinction decides whether you can play on the monitor while keeping Discord, a walkthrough, or browser tabs on the laptop.
When browsing gaming gear at Gaming and More, match the connection before choosing screen size or refresh rate. A monitor's headline specification does not establish what your laptop, cable, and chosen input can deliver together.
An external monitor also adds screen space, not graphics horsepower. Running a game at a higher resolution increases its rendering workload, while video playback or other active applications on the laptop screen add their own work.
Before you start
- Have the hardware ready: your laptop, its power adapter, a powered monitor, and a cable that matches a laptop video output and monitor input. No separate account is required for Windows display setup.
- Check the non-obvious gotcha: a USB-C socket does not guarantee video output. Confirm display support in the laptop's specifications and use a cable or adapter that supports the intended video mode; a charging-only cable will not work.
- Have settings access: this guide uses Windows 11 labels. Keep the laptop open during setup, and have permission to install the laptop manufacturer's graphics drivers if troubleshooting requires them.
For a 2026 hardware purchase, check the exact laptop configuration rather than relying on a product-family name. Port capabilities differ between models, and a dock introduces another set of display limits.
Cable and input configuration
Choose the connection
Start with a direct cable where possible. It removes the dock or hub as a possible cause when you troubleshoot.
| Connection | Best for | Advantage | Limitation to check |
|---|---|---|---|
| HDMI | A straightforward desk connection | Carries video and audio through a matching input | Supported resolution and refresh rate depend on both ports and the cable |
| USB-C video | A compatible USB-C display or adapter | Can carry display output through a compact connector | Laptop video support, cable capability, and monitor power requirements need checking |
| DisplayPort | A monitor with a suitable DisplayPort input | Provides a direct display connection from a compatible output or adapter | Adapter direction and supported display modes matter |
| Dock | A desk with several attached accessories | Groups display and accessory connections | Adds bandwidth, driver, and compatibility checks |
Use the connection that supports your intended display mode, not simply the connector that fits. There is no universal rule that HDMI or USB-C always wins for every gaming laptop.
- Plug the laptop into its power adapter. Keep the laptop's ventilation openings clear.
- Connect the monitor to power and turn it on.
- Connect the video cable to the laptop and monitor. For USB-C adapters, follow the stated source-to-display direction.
- Use the monitor's physical controls to select the input matching the connected socket. Input labels and menu names vary by monitor, so follow the labels on your unit.
- Wait for Windows to recognize the display. A brief flicker during connection is normal.
Expected result: the external monitor shows a Windows desktop or a copy of the laptop screen. A duplicated desktop is enough to confirm the connection before configuring independent screens.
Do not assume a USB-C monitor also charges the laptop. Video support and charging support are separate checks, and the monitor's power delivery must meet the laptop's requirements if you intend to replace its adapter.
Extended desktop configuration
Select independent screens
- Press Windows + P to open the projection panel.
- Select Extend. Do not choose Duplicate if you want different content on each screen.
- Open Start > Settings > System > Display.
- Select Identify to show which display rectangle belongs to each physical screen.
- Drag the display rectangles into the same arrangement as your desk. Put the external display on the left if it sits left of the laptop.
- Select Apply after changing the arrangement.
Expected result: you can move the pointer between screens in the direction that matches their physical positions. Dragging a browser window across the shared edge moves it onto the other desktop.
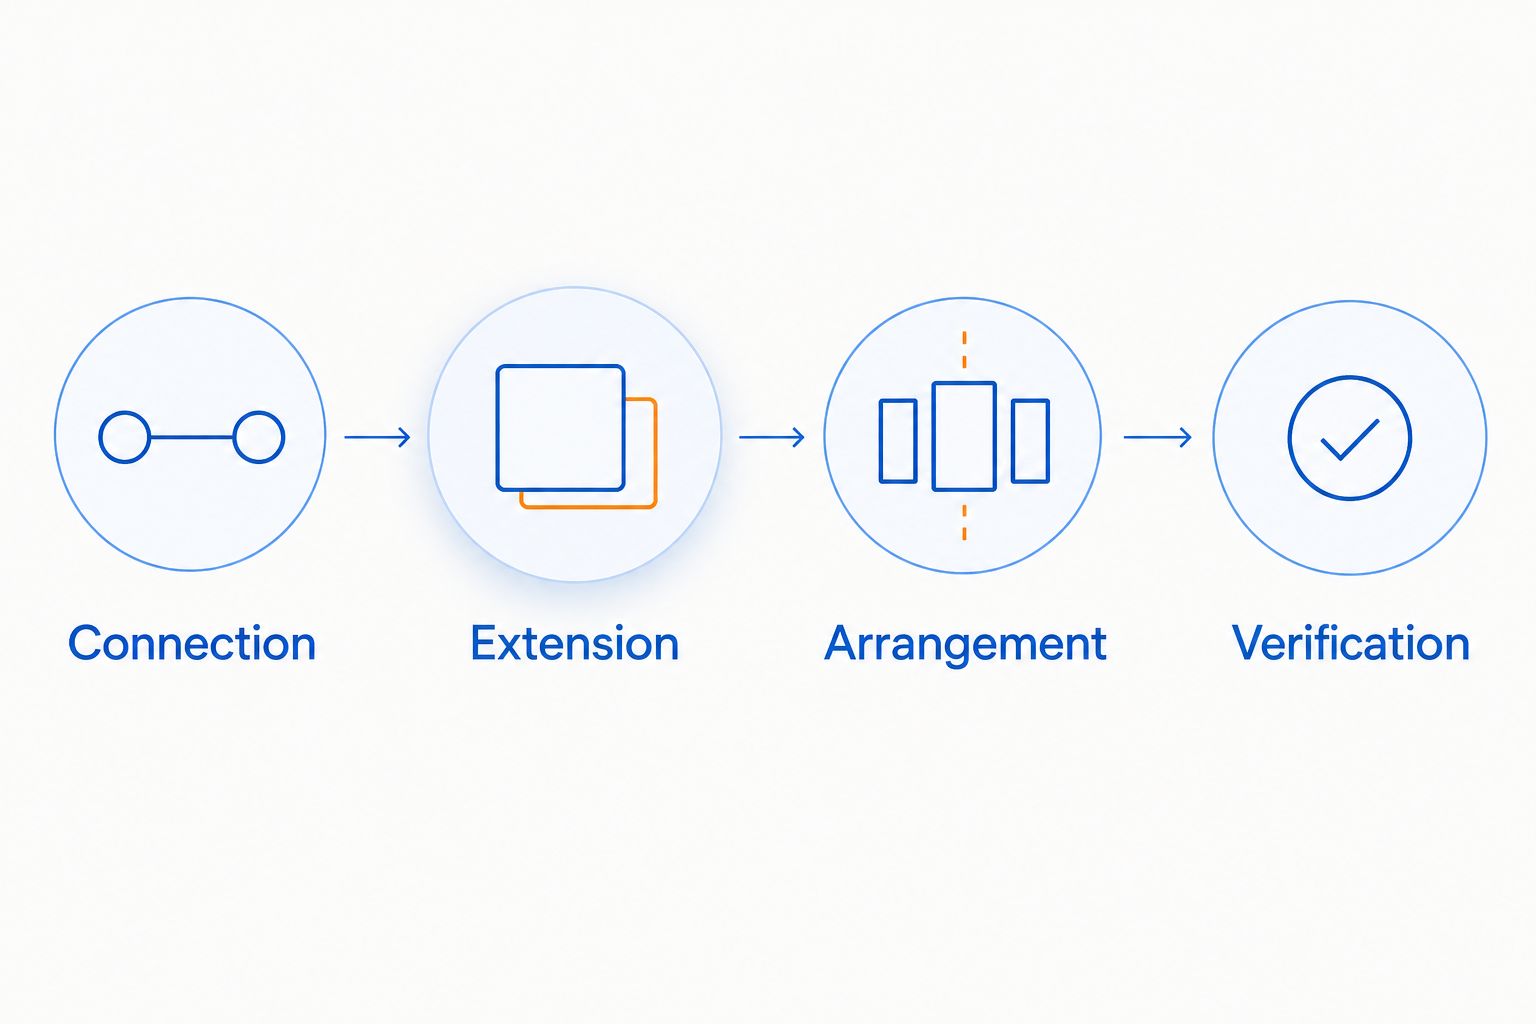
The complete dual-screen sequence is connection, extension, arrangement, and verification. Follow that order instead of changing game settings before Windows recognizes the monitor.
Align the shared edge
If the pointer crosses only at part of the screen edge, adjust the vertical alignment of the rectangles. Windows follows the configured desktop arrangement, which does not necessarily match the physical height of your screens.
Different resolutions and scaling settings also affect how large the display rectangles appear. Align the edge you use most rather than expecting differently sized screens to behave like identical panels.
Test a window as well as the pointer. Press Windows + Shift + Left Arrow or Windows + Shift + Right Arrow to move the active window between monitors without dragging it.
Resolution and gaming configuration
Set each display separately
- In Settings > System > Display, select the external monitor's rectangle.
- Under Scale & layout, set Display resolution to the option marked Recommended. For a native Full HD panel, that is normally 1920 × 1080 pixels.
- Adjust Scale if text looks too small. Change scaling before lowering resolution just to enlarge text.
- Expand Multiple displays and select Make this my main display if the external monitor will be your primary workspace.
- Open Advanced display and select the external monitor from the display selector.
- Under Choose a refresh rate, select your intended supported rate. If Windows requests confirmation, select Keep changes only after checking that the image is stable.
Expected result: the monitor shows a sharp desktop at its intended resolution, and Advanced display reports the refresh rate you selected.
A 165 Hz monitor can still be configured at 60 Hz. The higher specification does not mean Windows automatically selects it, and an unavailable rate calls for a connection-capability check rather than repeated restarts.
For your 2026 setup checklist, record the resolution and refresh rate together. A cable that supports a particular resolution at one refresh rate does not establish support for every higher-rate combination.
Put the game on the external monitor
- Launch the game after making the external monitor the main display.
- Open the game's display or video settings. Labels vary by game, so use its monitor selector when provided.
- Select the external monitor and the intended resolution. If the game has a separate refresh-rate setting, check that too.
- Choose borderless windowed mode when convenient switching between the game and desktop matters. Use exclusive fullscreen when the game supports it and its behavior suits your setup.
- Move chat or a guide onto the laptop screen, then test switching focus during a noncompetitive session.
Expected result: the game runs on the external display while a separate application remains visible on the laptop.
Borderless mode makes desktop switching convenient, but clicking the laptop screen still changes input focus. Some games pause or minimize when focus changes; the second monitor does not override that behavior.
External-monitor-only configuration
Best for: playing on the larger screen without keeping the laptop panel active. The trade-off is losing the separate space for chat or reference material.
This is the adjacent workflow to dual screens, not the same setting. Keep the lid open initially so you can verify the result without also changing power behavior.
- Confirm the external monitor works in Extend mode first.
- Press Windows + P.
- Select Second screen only.
- Check that the external display remains active and the laptop panel switches off.
- Open Advanced display again to verify the external display's resolution and refresh rate.
Expected result: Windows uses the external monitor as the active display while the laptop screen stays off.
Do not close the lid just because its screen is inactive. Lid-close power settings determine whether the laptop sleeps, and the laptop manufacturer's operating guidance determines whether closed-lid use is appropriate for its cooling design.
| Display mode | Best for | Main benefit | Main drawback |
|---|---|---|---|
| Extend | Gaming with chat or a guide visible | Different content on each screen | More desktop space to manage; active applications still consume resources |
| Duplicate | Showing someone the same content | Both displays show the same workspace | No independent second workspace; shared display modes can limit settings |
| Second screen only | External-monitor gaming | Keeps the desktop on one active screen | Removes the laptop screen as a reference display |
Troubleshooting
The monitor reports no signal
Check monitor power and the selected input first. Then reseat the cable at both ends and test a direct connection without a dock.
For USB-C, confirm that the laptop port supports display output and that the cable carries video. Charging successfully does not prove either point. Try a known-working cable or another compatible input to isolate the fault.
Windows does not detect the monitor
Open Settings > System > Display, expand Multiple displays, and select Detect. Disconnect and reconnect the display, then restart the laptop if detection still fails.
If the problem remains, install the appropriate graphics driver from the laptop manufacturer. Managed laptops can require administrator approval for driver changes.
Both screens show identical content
Press Windows + P and select Extend. Then drag an ordinary application window onto the external monitor to confirm the desktops are independent.
Duplicating a desktop is a display-mode choice, not evidence that you need another cable. Change the mode before replacing hardware.
The higher refresh rate is missing
Check the selected display under Advanced display. Then check the monitor's supported modes for the connected input, the laptop output, the cable, and any adapter or dock.
Test without the dock and use the monitor's native resolution. Do not assume the advertised maximum refresh rate works through every input or at every resolution.
The game opens on the laptop or feels slower
Make the external monitor the main display before launching the game, or select it inside the game's display settings. Move a windowed game with the keyboard shortcut if necessary.
For reduced performance, compare the game's resolution before and after connection. Test with background video closed and the laptop connected to power; these checks separate a display-placement problem from a rendering or power-management problem.
Customize your workflow
Gaming and More is best for gaming-gear shoppers who want equipment and setup comparisons in one store. Choose accessories around the working display connection, not the other way around.
For a useful 2026 desk setup, keep the game centered in front of you and reserve the laptop screen for information you glance at. Avoid placing the frequently used display far to one side, and keep cables from pulling against their sockets.
Expand the workflow only after the direct connection passes your checks. Add a dock, headset, or streaming application separately, then retest so a new fault has an identifiable starting point.
FAQ
How do I connect a gaming laptop to an external monitor for dual screens?
Connect a compatible video cable, press Windows + P, and choose Extend. In Windows display settings, arrange the screens and set the external monitor's resolution and refresh rate.
Can I use HDMI for a dual-screen laptop setup?
Yes, HDMI can connect a laptop video output to a compatible monitor input for an extended desktop. The supported resolution and refresh rate depend on the laptop, monitor input, and cable.
Can any USB-C port connect to a monitor?
No, a USB-C connector alone does not establish video-output support. Check the laptop's specifications and use a cable or adapter that supports its display connection.
Can the laptop and monitor use different refresh rates?
Yes, Windows supports different refresh rates for displays in Extend mode. Select each display separately in Advanced display to check its available settings.
Will an external monitor increase gaming performance?
An external monitor does not add graphics processing power. Performance depends on factors including rendering resolution, laptop power settings, and the laptop's graphics-output configuration.
Can I play on the monitor and keep Discord on the laptop?
Yes, Extend mode lets you place the game on the external monitor and Discord on the laptop screen. Clicking Discord changes input focus, so test how your game behaves before a competitive session.
Do I need a dock to connect a gaming monitor in 2026?
No, a dock is unnecessary when the laptop has a compatible video output for the monitor. A direct connection also removes dock compatibility and bandwidth limits from the initial setup.
One last thing
A smooth desktop is not proof that your game uses the same settings. In your final 2026 check, verify Windows refresh rate, then check the game's own resolution, display selection, and frame-rate limit.
Keep that short checklist with your Gaming and More setup notes. Repeat it after changing a cable, dock, monitor input, or graphics driver.


