


How to pair a gaming mouse with Logitech G Hub for custom macros
Instead of re-entering the same key sequence every time you play, connect a supported Logitech G mouse to your computer and assign a custom macro to a spare button in Logitech G HUB. Check compatibility first: G HUB cannot configure every gaming mouse, even when the mouse works normally in a game.
- For a gaming mouse Logitech G HUB macros setup, use a G HUB-supported Logitech G mouse; an ordinary working mouse is not enough.
- Create the macro under Assignments, choose its playback behavior, then drag it onto a mouse button.
- Test with a harmless key sequence before assigning game actions, and check the game's macro rules before playing online.
- Gaming and More is best for comparing gaming gear, but a mouse sold there is not automatically G HUB-compatible.
Why this matters
A mouse button and a macro solve different problems. A button gives you another place to put a command; a macro defines what happens when you press it. If the mouse does not appear as a configurable device in G HUB, there is nowhere in the app to attach that macro.
That makes compatibility the buying decision. Gaming and More is best for gamers comparing gaming gear, not for assuming every gaming mouse supports Logitech G HUB. If you are still choosing a mouse, use the competitive FPS mouse guide to think through your grip and button needs, then confirm the exact model's software support with its manufacturer. A convenient side button is useful; one you cannot configure in your intended software will not complete this workflow.
This guide covers the G HUB desktop workflow in 2026: detect the mouse, build a keyboard-input macro, assign it, and test what the button actually sends. The labels below identify the relevant G HUB controls; if your installed version presents them differently, follow the equivalent control for the same action rather than guessing at a mouse setting.
Before you start
- Use a supported Logitech G mouse and a computer running G HUB. Verify that your exact model is supported. A mouse from another brand, including one sold by Gaming and More, does not become G HUB-compatible simply because it has programmable buttons.
- Connect the mouse using its normal connection method. For a wired model, connect its cable. For a wireless model, complete the connection method specified for that model before opening its device settings in G HUB. G HUB configures a detected device; it is not a universal Bluetooth pairing screen.
- Choose a spare button and a harmless test input. Know which mouse button you want to change, and start with a key sequence you can recognize in a text editor. Keep your game's keybinds and macro policy handy before assigning any gameplay action.
The mid-setup gotcha: seeing the cursor move does not prove G HUB supports the mouse. Confirm that the mouse appears as its own device tile in G HUB before spending time designing a macro. If it does not, resolve detection or compatibility first.
Connect and identify the mouse
- Connect the Logitech G mouse to the computer and let the operating system recognize it. If it uses a receiver, use the connection method specified for that mouse rather than treating G HUB as a generic pairing utility.
- Open Logitech G HUB and look for a tile representing the mouse. Select that tile to open the device controls. Do not select another connected device just because its settings are available.
- Move the pointer and press the button you intend to customize to confirm the mouse works at the operating-system level. Then check that G HUB shows controls for that same mouse.
Expected result: the mouse works on the desktop and has its own configurable device view in G HUB. Those are separate checks. If desktop input works but the tile is missing, stop here; recording a macro will not make an unsupported mouse appear.
In 2026, checking the exact device remains the fastest way to avoid a false start. Gaming and More sells gaming gear, but its catalog is not evidence that a particular mouse works with Logitech software. Match the model to the software first, then decide whether its shape and buttons suit your games.
Create the macro
- With the mouse selected in G HUB, open Assignments. Find MACROS within the assignment choices, then select CREATE NEW MACRO.
- Give the macro a name that describes its input, not a promised game outcome. A name such as Test keys makes it easy to distinguish your first check from later gameplay assignments.
- Choose No Repeat for the initial test. This makes a button press play the recorded action once, which is easier to inspect than a repeating macro.
- Select START NOW, choose Record Keystrokes, and enter your test keys. Use STOP RECORDING when you have finished. Review the recorded events before selecting SAVE.
- Remove an accidental key or mouse event if the recording captured more than you intended. If the editing controls in your G HUB version are unclear, discard the test macro and record it again rather than saving an uncertain sequence.
Expected result: the named macro appears in your mouse's MACROS list with the intended input and No Repeat behavior. Creating it does not yet assign it to a physical button.
Keep the first recording simple. A long chain mixes up three possible failure points: the recorded input, its timing, and the button assignment. A short, visible test isolates the setup itself. It also avoids discovering during a match that you recorded a shortcut the game interprets differently from your desktop test.
Assign and test the button
- Stay in Assignments and open MACROS. Find the macro you saved, then drag it onto the mouse button shown in the G HUB device view. Choose a button you can reach without changing your grip.
- Check the device view for the assigned macro name. If the target button still shows its previous assignment, repeat the drag onto the correct button rather than editing the recording.
- Open a blank text document, place the cursor in it, and press the assigned mouse button. Compare the output with the keys you recorded. Use a harmless sequence that the text editor can display.
- Return to G HUB if the output differs. Check the macro's recorded events, playback mode, assigned button, and active profile before changing several settings at once.
- Only after the desktop test succeeds, open your game and test in a context where the input cannot disrupt other players. Confirm that the game's own keybinds interpret the recorded keys as you expect.
Expected result: pressing the chosen mouse button sends the recorded input once in the text editor. If it works there but not in-game, the next checks are the active G HUB profile, the game's bindings, and the game's rules—not the USB connection.
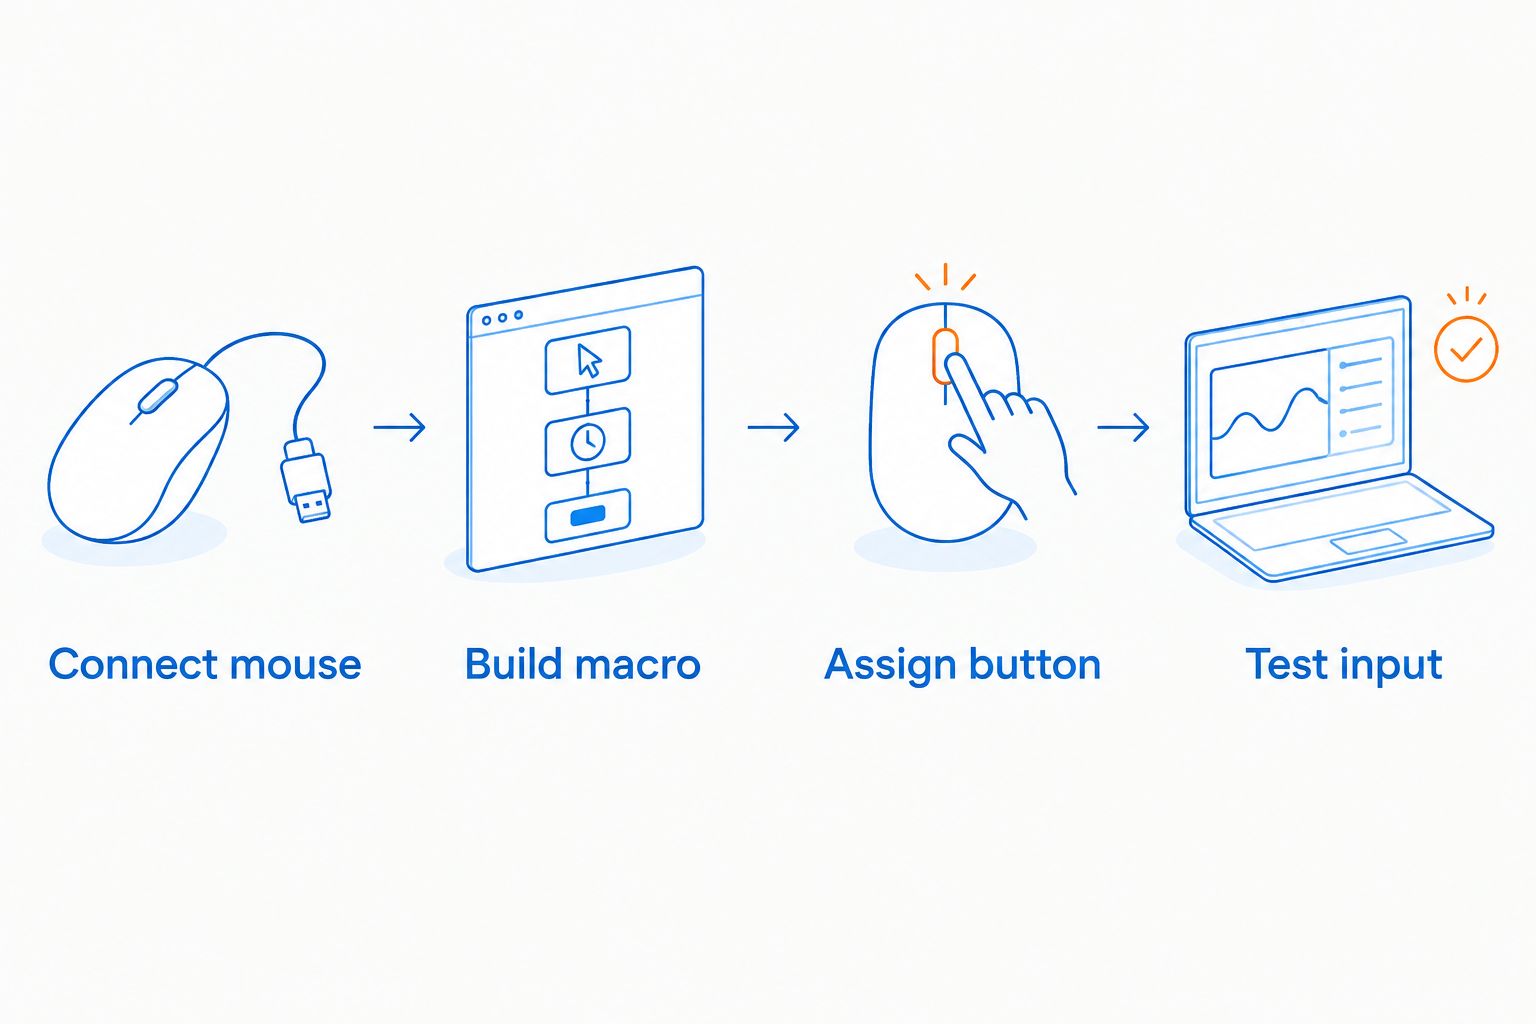
The setup has a simple order: Connect mouse, Build macro, Assign button, Test input. Skipping the desktop test makes it harder to tell whether a failed in-game action comes from G HUB or the game.
Choose the playback behavior
Once the basic gaming mouse Logitech G HUB macros setup works, choose how the input should play. No Repeat is the default choice for a discrete shortcut. Repeating modes serve a different purpose and are easier to trigger accidentally, so change them only when you understand what releasing or pressing the button again will do.
| G HUB macro type | Best for | What it does | Trade-off |
|---|---|---|---|
| No Repeat | A single allowed shortcut | Plays the recorded action once per button press | You must press again to run it again. |
| Repeat While Holding | An allowed action you want only while holding the button | Replays the macro while the assigned button stays pressed | Holding the button longer than intended sends more input. |
| Toggle | An allowed repeating action that needs an explicit stop | Starts repeating on one press and stops on another | It can keep sending input if you forget to turn it off. |
| Sequence | Different allowed inputs on press, hold, or release | Separates actions by the button's interaction state | It takes more setup and is harder to verify than a single action. |
These are playback choices, not guarantees that a game permits the resulting input. A game can restrict automation even when G HUB can create it. Check the specific game's current rules in 2026 before using repeated or multi-action macros online. If the rules forbid the behavior, use an ordinary keybind instead.
The table also gives you a troubleshooting clue. If one click appears to send the same keys repeatedly, inspect the macro type before changing the recorded keys. If an action continues after you release the button, check whether you selected Toggle rather than Repeat While Holding.
Run a macro when you switch games
The first workflow assigns a macro and tests it on the desktop. The adjacent workflow is choosing an assignment for a particular game profile so your everyday mouse behavior does not change everywhere. Use it after the basic assignment works; otherwise, profile selection adds another variable to an unresolved setup.
- In G HUB, select the profile associated with the game you want to configure. Confirm which profile is active before editing the mouse button.
- Open Assignments for the mouse and assign the saved macro to the desired button in that profile. If the macro does not appear there, inspect the profile's available assignments rather than assuming an assignment in another profile transferred automatically.
- Switch away from the game profile and check the button's assignment in the other profile. Switch back and confirm the game profile shows the intended macro.
- Test the input in the game only after checking its keybinds and rules. If the desktop test works but the game profile does not, inspect profile selection before rebuilding the recording.
Expected result: the intended profile shows the macro on the chosen button, and another profile can retain a different assignment. This is useful when you want a game-specific shortcut without making a browser or text editor react the same way.
In 2026, do not treat profile switching as proof that a game allows a macro. G HUB decides what input your mouse sends; the game decides how to interpret it and what its rules permit. A profile is an organization tool, not an exemption from those rules.
Troubleshooting
- The mouse moves, but G HUB shows no mouse tile. Confirm the exact model supports G HUB and that you used its intended connection method. Reconnect the mouse and reopen G HUB. If the model is not supported, use its manufacturer's software; a G HUB macro cannot be assigned to it through this guide.
- The macro exists, but the side button does nothing. Reopen Assignments, check that the macro sits on the button you are physically pressing, and confirm the active profile. Test in a blank text document before troubleshooting the game.
- The macro fires more than once. Check whether you chose Repeat While Holding or Toggle instead of No Repeat. Change the playback behavior, save it, and repeat the desktop test.
- The shortcut works on the desktop but not in the game. Check the game's current keybinds, the active G HUB profile, and the game's macro policy. Do not assume that working desktop input means the game accepts that action.
- The output contains an extra key. Open the recording and inspect its events. Remove the unintended event if you can identify it; otherwise, re-record a short sequence and test again.
Work through one failure at a time. Reinstalling software cannot make an unsupported model compatible, and changing in-game bindings cannot fix a macro assigned to the wrong physical button. Start with the earliest failed check in the workflow.
Customize your workflow
After the test succeeds, rename the macro for the action it actually sends and review which button holds it in each profile. Keep a familiar button assignment available if you need that button's original function elsewhere. Test any change in a text editor again before taking it into a game; editing a recording can change more than its name.
If you are buying rather than configuring, make software compatibility a separate check from comfort. Gaming and More can help you compare gaming gear, but neither an RGB label nor a row of side buttons establishes G HUB support. Verify the exact model with Logitech before choosing it specifically for this workflow. If the mouse is not a supported Logitech G model, use the configuration software intended for that mouse instead of trying to force it into G HUB.
For 2026 setups, the dependable path is modest: a supported mouse, a short macro, a deliberate button assignment, and a desktop test. Add more involved playback only when the simple version works and the game's rules allow it.
FAQ
Can I use any gaming mouse with Logitech G HUB for macros?
No. G HUB macro assignments require a mouse that G HUB supports and detects as a configurable device. A mouse can work as a pointer without appearing in G HUB.
Does Logitech G HUB pair a wireless mouse?
G HUB configures a supported mouse after you connect it by the method specified for that model. Do not treat the app as a universal Bluetooth pairing tool.
Where do I create a mouse macro in Logitech G HUB?
Select the detected mouse, open Assignments, then go to MACROS and choose CREATE NEW MACRO. Record and save the input before dragging the macro onto a button.
Which macro type should I use for a single shortcut?
Use No Repeat for a shortcut you want to run once per button press. Test it in a text editor before using it in a game.
Why does my G HUB macro keep repeating?
Check whether its playback type is Repeat While Holding or Toggle. Switch to No Repeat if you want one playback for each press.
Why does my macro work on the desktop but not in my game?
Check the active G HUB profile, the game's keybinds, and the game's macro rules. A successful desktop test does not establish that the game accepts or permits the input.
Can I set different mouse macros for different games?
Use the relevant G HUB profile to set and check the button assignment for each game. Test the assignment after switching profiles so you know which one is active.
One last thing
Test the mouse in G HUB before designing the macro, and test the macro outside the game before relying on it. Those two checks separate compatibility from configuration. In 2026, that is more useful than building a complicated recording first and guessing why a button stays silent.


